
The process map gives you a visual overview of how your business works — from core activities to management and support processes. It is an effective tool for clarifying roles, responsibilities and flow in work processes, and forms the basis for further documentation and improvement work.
To create a new process map in Quality, you'll be guided through three simple steps in a wizard. Along the way, you embed the core process, define activities, and link to relevant management and support processes. Start by pressing + Kernel Pross in the top right corner of the process map menu, like this:

Enter a title/name of the core process -- e.g. “Delivery of service” or “Training of new employees”.
- The title appears as the main process in the map.
- You can edit the name later if necessary.
💡 Hint: Use a clear and descriptive name — it provides a better overview for everyone who uses the system.
In this step, describe what the process starts and ends with, and what happens along the way.
Inputs: What sets the process in motion? E.g. customer request, order, need.
Outputs: What is the end result? E.g. service provided, report, approved product.
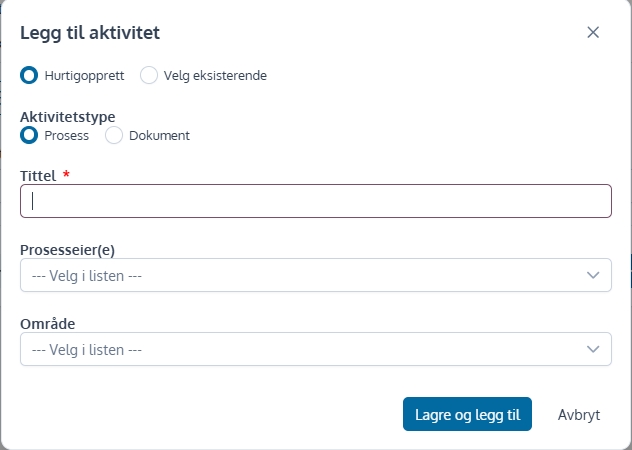
Add activity: Here you can add steps or activities to the process.

Click “Add Activity”
Once you have entered processes, you can choose the order in which they should be placed in the process map. Enter numbers for order in the first column.
NB! The number 0 indicates that the activity is ongoing.

To get a holistic view of the management system, you can link on management and support processes.
Press the button for “Add Management Process” and/or “Add Support Process”.

In the same way as for activities, one can choose between quickly creating or adding to the existing process.
Press to the end”Finish and save“.
When using the wizard to set up process maps and using quick creation of processes and documents, the elements are created with a minimum of information — such as name and type. This provides a quick start, but in order for the process map and document library to become complete and useful in practice, it is recommended that you edit each item afterwards.

